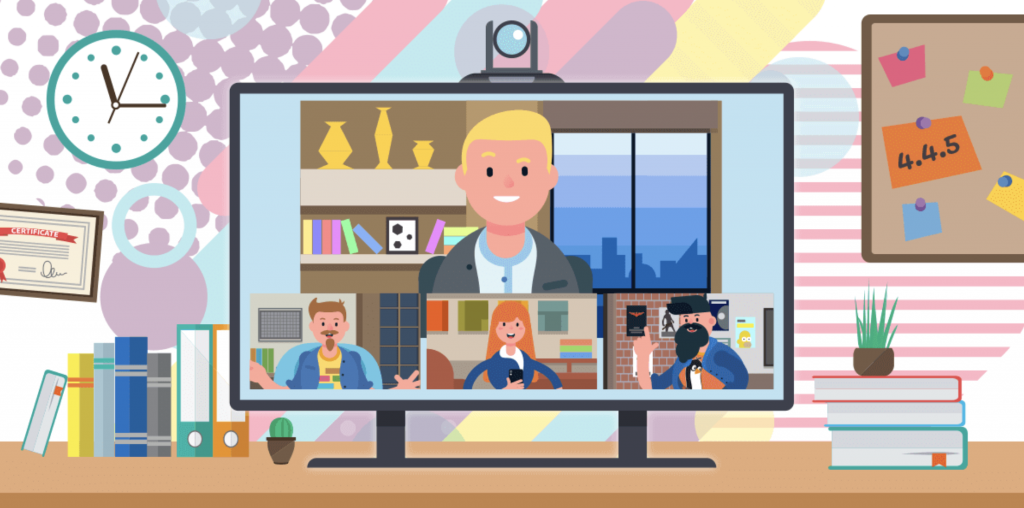
Suddenly, you are in all kinds of digital meetings, presentations and lectures, and you have to talk to your webcam. How can you transfer your message in a good way to the other side of the camera? And how can you ensure that everything works as optimal as possible?
Digital communication has never been more important as today. The good news: video calling makes this possible! You can make eye contact, see people’s expression and body language, and hear the tone of voice. In this blog, we give you several practical tips and handy tools for virtual lectures, presentations and meetings.
TIPS
- The basics.
This may sound obvious, of course, but it is important. Take care of:
- A properly functioning internet connection.
- Enough light, so you are visible.
- A solid camera and microphone.
- Quiet background.
- Make appointments
Of course, it is very annoying when everyone starts talking at the same time. Therefore, it is good to make appointments with each other. For example, assign a discussion leader and let each other finish their talk. What also helps (maybe it feels a bit crazy in the beginning) is to sign up when you want to say something. For example, raise your hand or send an 👋 in the chat. When you are not speaking, put yourself on mute. Turn on your microphone only if you are actually speaking. Then, no one will be bothered by background noises. - Look into the camera lens, and not at yourself!
It may be a bit crazy, but try to look into the camera lens when you are talking. If you are looking at yourself or your screen, you are looking through the camera lens – so you do not make any eye contact with the rest. This is especially important during presentations. - Good working microphone
Make sure you have good audio. It is annoying to have to go to a lot of trouble to understand someone. So don’t sit in a room with reverberation, and if possible, put on a headset or put in earphones. Then, all background noises will be filtered automatically. - Reserve enough time for your meeting
It always keeps struggling. Does everyone have the camera on? Are the microphones working? “Just looking for headphones or untangling the earphones…” Make sure you take this into account. Plan an extra quarter or half hour in for your meeting. Better shorter than expected, than longer than planned. - Full screen or gallery view
In some tools you can choose between full screen or gally view. In the first case you see the person talking big in the picture. In gallery view you see all participants in the same size and a frame appears around the person talking. This often looks a bit calmer than a staggered image of the person who is talking.
Our last tip: practice makes perfect. We have online meetings from home for about a month now, but we have already noticed: the more often you make video calls, the more ‘normal’ it becomes.
TOOLS
- Whereby
Highly recommended: the tool Whereby. With this tool, you can easily make video calls with your teammates in your browser (i.e. without an app). The big advantage is that you don’t have to log in anywhere or have to create an account. All you have to do is fill in your name. You create a room, it gets its own URL, and you can share it. Do people click on the link? Then they are almost directly with you in the video call.
- Skype
Skype is perhaps the best-known tool for free video calling. A big advantage of Skype is that you can open your ‘textual chat’ next to your video chat. This allows you to share links with each other or take notes underneath the video call, for example. It is also very easy to see when the other person is available and you can change your own status. To use Skype, you need to download Skype, create an account, and the other person must also have a Skype account. - Miro
Miro, formerly RealtimeBoard, is also highly recommended for online collaborations. It is easy to work together on a mind-map or visualization of a process. Miro is useful for product development, UX research and design, and has a free version. You can put all kinds of files and formats on one ‘whiteboard’, which you can zoom out indefinitely. At the same time you can make video calls in the same document. Very useful for our new media design students! - Zoom
Zoom is a real business tool for video calls with many employees at the same time. With excellent audio and video functionalities. Up to 1,000 people can make video calls at the same time and another 10,000 can watch. One drawback: you can only make video calls for 40 minutes in a row. So this is a good tip for teams who would like to have shorter and more effective meetings. 😛 - Eyeson
Eyeson is a video meeting-app that works from your browser. No installation is required. Other participants can simply be invited via a link. A useful feature of this app is that you can record and save video meetings so you can keep an overview. - Hangouts Meet (Google)
All you need to meet via Hangouts Meet is a Google Account. (And of course a computer with camera, microphone and internet 😉). The useful thing about this tool, is that the calls are automatically synchronized between different devices. Did you start a meeting on your computer? Then you can continue chatting on your phone. You can use the trial version for two weeks for free. A nice extra: if you use Google products (Gmail, Calendar, Drive, Documents, Spreadsheets, etc.) a lot through work, you can use these programs conveniently side by side.
Do you have a nice tip or tool for online meetings, presentations or attending online lectures? Please let us know!